Procedure of assembly wiring
To each page : 1 , 2 , 3 , 4 , 5 , 6 , 7 , 8 , 9 , 10 , 11 , 12 , 13
Procedure of assembly wiring (6/13)
 Mount the transistor TR1
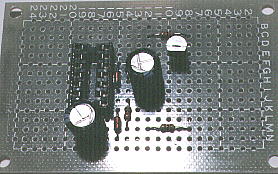
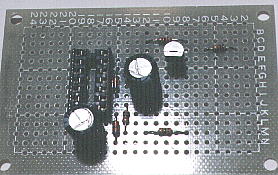
 Mount the transistor TR1 that flat face(name is printed) toward 9G, and the center lead(collector) to 9F, lead of emitter to 10E and the lead of base to 8E.
If you don't understand, see 'Component lead of the transistor'.
Mount the transistor, providing about 5-mm distance from printed board.
 Bend the lead of 9F toward 9G, 8E toward to 7E and 10E toward to 11E each to prevent it fall.
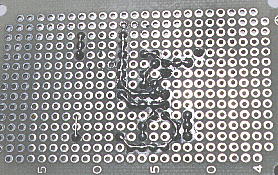
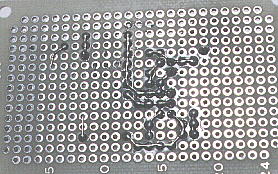
 Solder the lead of TR1 and R3 at 8E. (The hight of TR1 is fixed)
 Adjusted the TR1 vertically with printed board.
 Cut the lead of TR1 at 8E.
 Cut and leave about 0.5 mm the lead of 9F of TR1 that is bended toward 9G so as not to contact with surrounding land.
 Cut and leave about 0.5 mm the lead of 10E of TR1 that is bended toward 10D so as not to contact with surrounding land.


 Mount the resistor R4
 Mount the resistor R4 to 3D and 6D.
 Bend the lead of 3D of R4 to 2D a little.
 Bend the lead of 6D of R4 to 5E and bend more to 5F.
 Hold down R4 from the parts side, and adjust the angle of the lead of R4 of 3D side, and put the lead of 6D side lead of R4 to the 5F.
 Solder the lead of 6D of R4.
 Cut the lead of 6D of R4 at 5F.
 Cut and leave about 0.5 mm the lead of 3D of R4 so as not to contact with surrounding land.


