
 Drill work Drill work
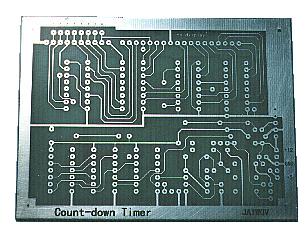
Open the hole which is the same as the diameter of the through-hole pin(In the case of me, it is 0.8 mm) to the place which makes the through-hole.

 Set the through-hole pin with the inserter Set the through-hole pin with the inserter
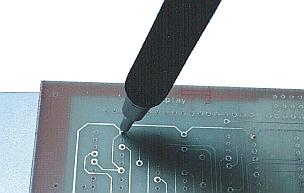
Put the printed board on the metallic pedestal.
Take out the through-hole pin for the one from the tip of the inserter, knocking the knob of the inserter.(About 2 mm)
Insert the pin perpendicularly to the hole of the printed board.
Insert the pin until it hits the pedestal.
Bend the inserter on either side and break the through-hole pin.
When beating with the punch after inserting many at once, the pin comes off the printed board. It had better beat with the punch if inserting the one.

 Beat with the punch Beat with the punch
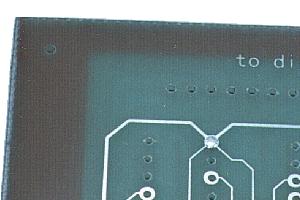
Beat the pin which was set with the inserter with the punch from above. Of course, the pedestal is necessary.
Beat for the printed board and the pin to become flat.
Beat from opposite, too, and the pin doesn't protrude from the printed board.
If finishing beating, set the following pin and do the same work.

 Soldering Soldering
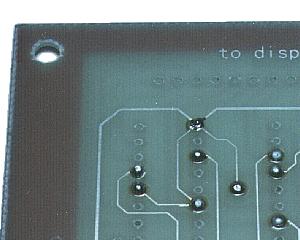
If attaching all through-hole pins, solder.
The print pattern and the through-hole pin are connected in the solder when soldering. Because the solder is already filled inside the through-hole pin, the solder penetrates inside the pin.
Solder from opposite, too.
Solder all through-holes in the same way.

 Suck up solder Suck up solder
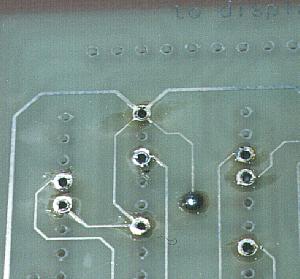
Remove solder of the soldered through-hole by the solder pump or the desoldering wire.
Because the through-hole pin and the print pattern stick when beating with the punch, even if it removes solder, there is not a problem in the connection.
The hollow through-hole was complete.
 |