How to debug
|
The debugging is to confirm that the made software works. The work which removes blight is debugging. To debug, there are some ways. Here, the way of executing 1 step and the way by the breakpoint(It stops processing temporarily) are explained. I use the program which was shown by the previous example for the explanation. The step debugging is the way which is convenient to confirm the operation of the software with small scale or the operation of the specific processing part. The step debugging can make execute with Debug > Run > Step , too.
Window > Absolute Listing : The listing file display 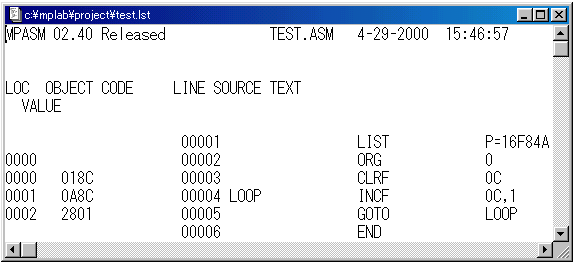
 (1) The reset operation With this operation, the simulator becomes a condition immediately after the turning on as the condition of PIC. The reset operation can make execute with Debug > Run > Reset , too. A dark bar is displayed at 0 of the program address on the listing file. In the explanation after that, I call this dark bar as "PC bar ". This bar shows the position of program counter (PC). 
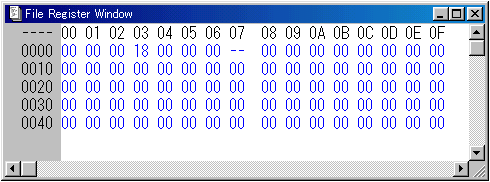
The PC bar moves to address 1. The file register changes as follows.
(3) The 1 step execution
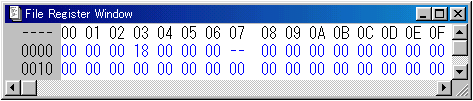
The PC bar moves to address 2. The file register changes as follows.
(4) The 1 step execution
The PC bar moves to address 1. The file register changes as follows.
(5) The 1 step execution
The PC bar moves to address 2. The file register changes as follows.
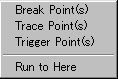
When clicking the step button, the PC bar change address 1 and address 2 alternately. Every time the instruction of 1 address is executed, 0Ch of the file register is updated. As above mentioned, the operation every step can be confirmed. This is a way of debugging by by confirming the data when stopping at the breakpoint. Because it is possible to process at a stroke to the breakpoint, it is possible to debug efficiently. Before executing the instruction which a breakpoint was set to, processing is stopped temporarily.
Click the step which sets a breakpoint on the listing file.
( Setting 2 ) This is the way of making a label a breakpoint. A breakpoint setting dialog is displayed when pressing This setting can make execute with Debug > Break Settings... , too. Choose the label to want to set a breakpoint by the Start item of the setting dialog. When clicking the "Add" button, a breakpoint is added. If a checking mark is displayed, the breakpoint is effective. 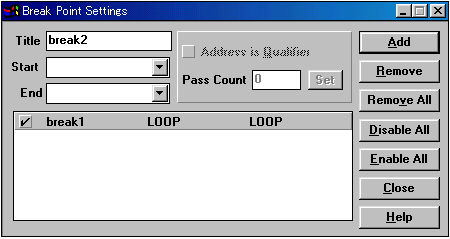
Window > Absolute Listing : The listing file display Window > File Registers : The file register display (1) The reset operation
The PC bar is in the place of address 0. The file register changes as follows.
(2) The setting of a breakpoint
Set by setting 1. The line changes to the red when a breakpoint is set. (3) The processing execution
The PC bar moves to address 2. The file register changes as follows.
(4) The processing execution
The PC bar is as address 2. The file register changes as follows.
(5) Debugging ending It is possible to stop the processing execution in Debug > Run > Halt . In the condition which stops at the breakpoint, the debugging operation continues. When ending debugging, it is necessary to make stop at the stop button. |