Initial setting of the software development tool
|
After the installation of MPLAB is ended, the initial setting of the development environment should be done. When not doing these setting, it isn't possible to use MPLAB. Each item can be set according to the necessary work. I am doing to the setting to make software for "PIC16F84A". (1) Start MPLAB (2) The setting of the Development Mode 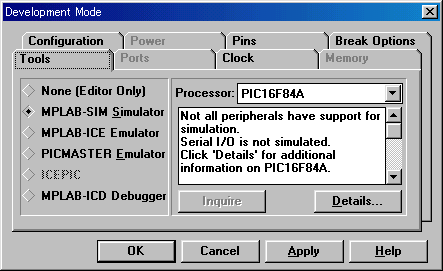
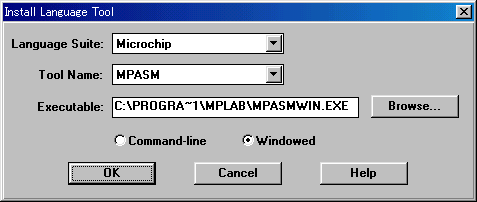
When of the software development working using MPLAB, the PROJECT must be created. This is the one to manage the following work as the project. Each work can be done independent. However, each work can be related when making a project. It is possible to do an assembly operation immediately using the source code which was made by the coding. It is possible to do debugging using the object file which was made of assembly operation. A project is managed in the file of the extension, pjt. The management is easy when making Project folder. The making of a new project 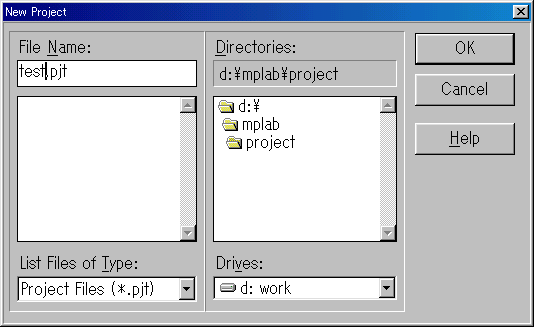 Enter the project name and click the OK button. In the example this time, it makes "test". "Edit Project" dialog is displayed. 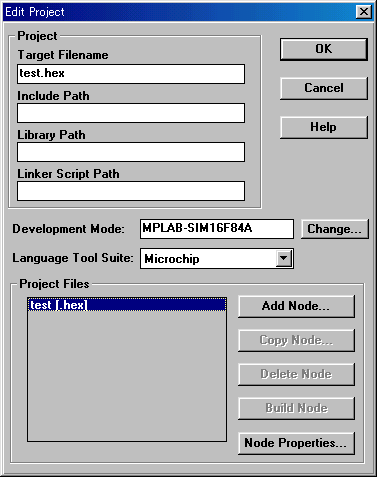 Choose the project which is displayed in the item of Project Files and click the "Node Properties..." button. "Node Properties" dialog is displayed. 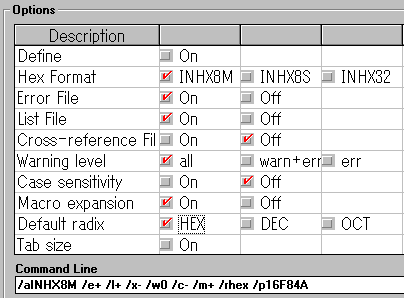 Set each following item. The red character is the part which was changed from the default setting.
The file name of the source code should be specified as the node.
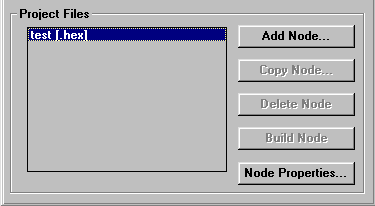 Choose a project with Project Files item. Click the "Add Node..." button and add a source code file name. 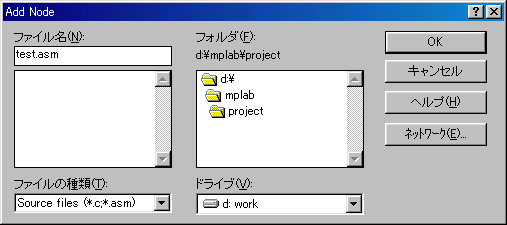 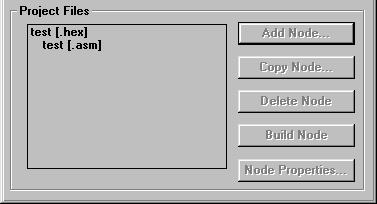 A node file was added to the project by above operation. In this operation, the file name of the source code is only added to the project. A node file isn't created. Save a made project. After that, the project which was made can be opened by the operation of Project > Open Project |